 EN
EN


Solutions for Root Rot in Potted Plants: How to Properly Lay a Drainage Layer of Expanded Clay Pebbles
Many plant enthusiasts struggle with the problem of root rot in potted plants: leaves turning yellow and limp, soil remaining constantly damp, and black, rotting roots revealed upon unpotting. Many people’s first reaction is to assume they are watering too frequently and deliberately cut back, yet the root rot persists.
A major culprit behind this issue is the incorrect installation of the expanded clay (leca) drainage layer at the bottom of the pot. While the idea that "a thick layer of clay pebbles at the bottom prevents root rot" has long circulated, practical experience shows that the thicker the layer, the more likely it is to create a zone of trapped water, thereby increasing the risk of root suffocation and rot. This article breaks down the underlying principles of the clay pebble drainage layer and provides a step-by-step guide to proper installation, helping you minimize the risk of root rot at the source.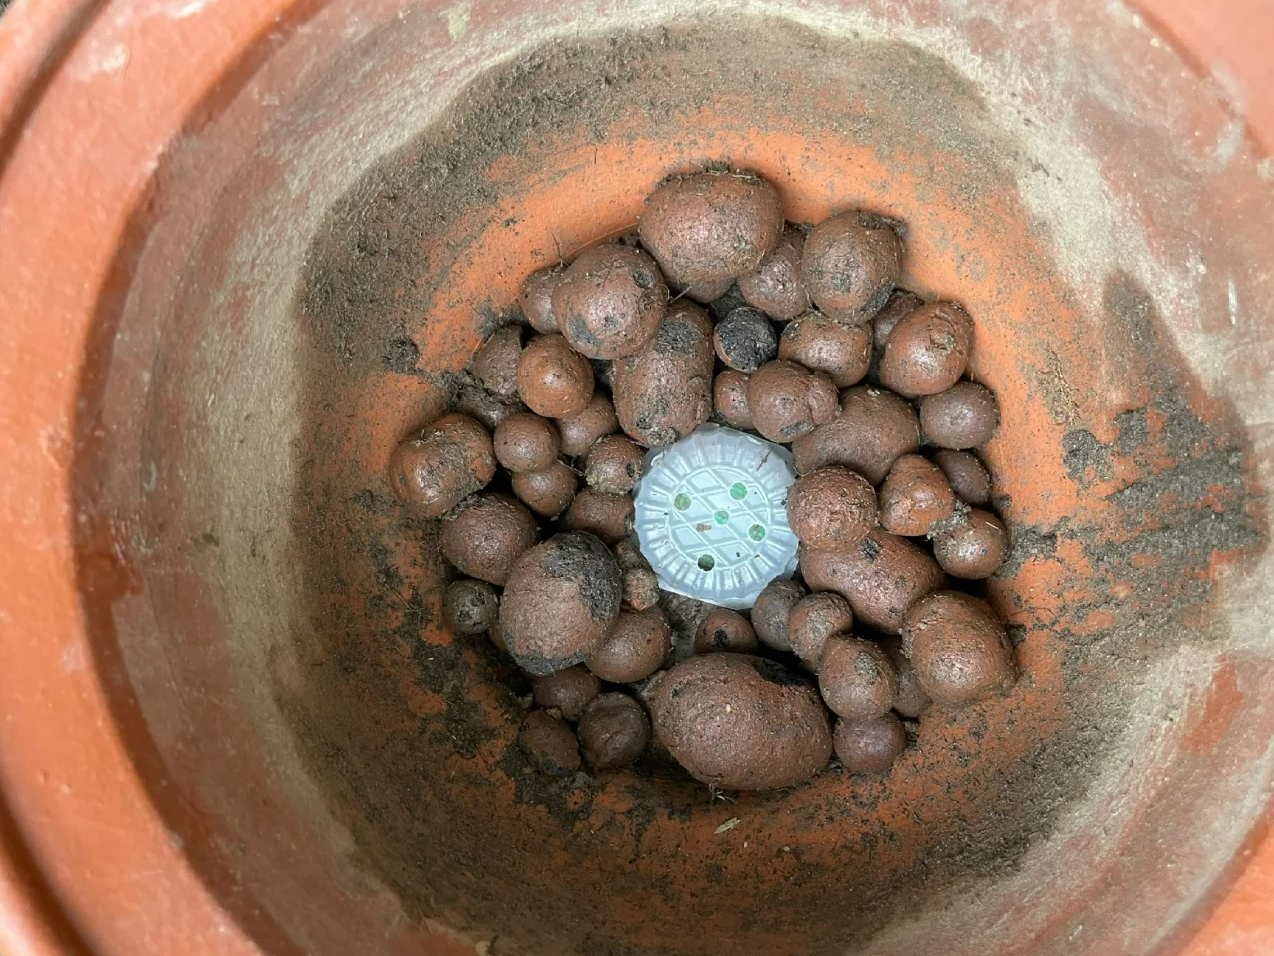
Common Misconception | Why does a thick layer of clay pebbles actually trigger root rot?
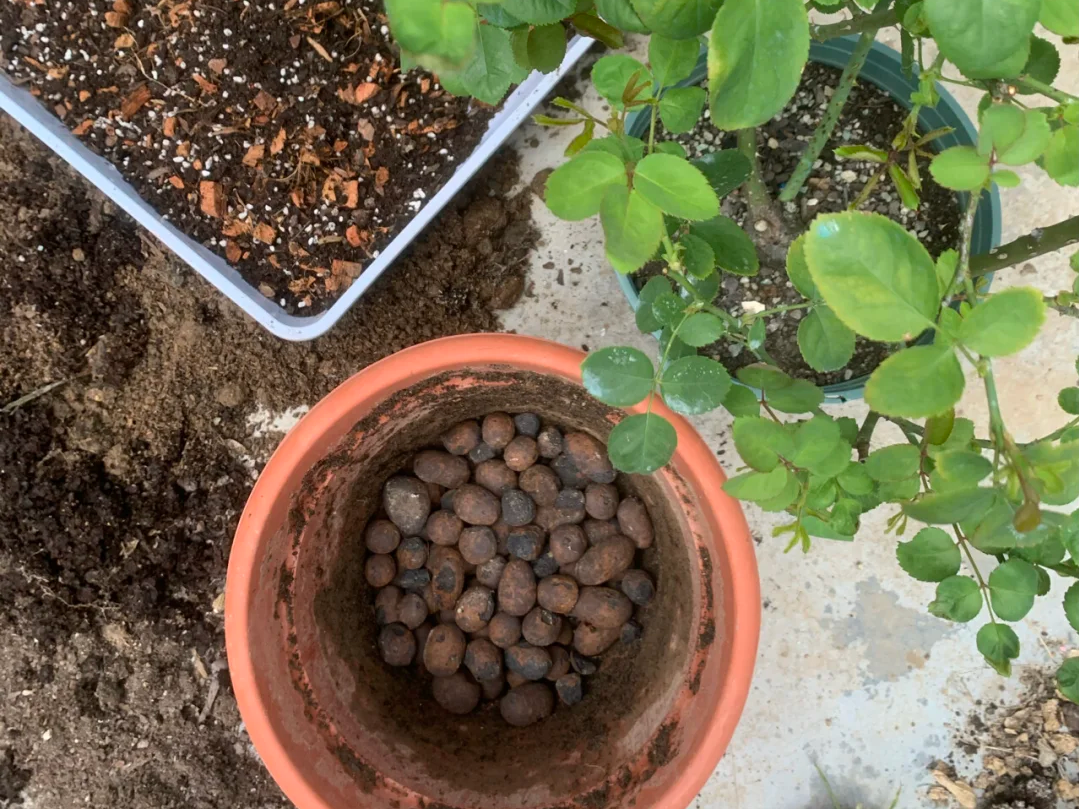
A common practice among plant lovers is to spread a thick layer of clay pebbles at the bottom of the pot before adding potting soil and the plant.
From a horticultural perspective, the interface between fine-grained potting soil and large clay pebbles creates a capillary water-retention zone. Water flows down to this boundary but cannot drain quickly through the drainage holes; instead, it stagnates at the bottom of the soil, forming a layer of trapped, damp water. This leaves the root system in a constantly high-moisture, oxygen-deprived environment, leading to root rot.
⚠️ Key Takeaway: The primary function of clay pebbles is not to store water, but to prevent fine soil particles from clogging the drainage holes; drainage is not achieved simply by using a thick layer of pebbles. Blindly thickening the pebble layer does not improve drainage efficiency; instead, it encroaches on the space available for root growth.
Step-by-step guide to correctly installing the clay pebble drainage layer
Materials needed: Horticultural clay pebbles (recommended particle size: 10–20mm), drainage hole mesh pad or a piece of window screen, separation fabric (non-woven fabric or coarse coconut husk chips), and breathable potting soil.
- Protect the drainage hole: Place a mesh pad or a piece of window screen at the bottom of the pot to cover the drainage hole. This prevents soil and small pebble fragments from washing out while ensuring the drainage channel remains open.
2. Spread a thin layer of expanded clay pebbles (Crucial: do not spread them thickly). A thin layer suffices: 1–2 cm for medium-to-large pots; 0.5–1 cm for small pots with a diameter under 15 cm.
Tip: For mini-pots (diameter under 12 cm), if the potting mix is sufficiently breathable, you can skip the clay pebbles entirely and use only a drainage mesh pad.
3. Add a separation/buffer layer (a step most people overlook). Place a layer of non-woven fabric or coarse coconut husk chips over the clay pebbles to prevent the fine potting soil above from falling into the gaps between the pebbles. This stops soil particles from clogging the voids, which would render the drainage layer ineffective.
4. Fill with soil and plant. Add your prepared, breathable potting mix, position the plant, and fill in the remaining soil to secure it. Do not simply pile all the clay pebbles at the bottom to serve as a drainage pad.
Practical application: Varying the use of clay pebbles by pot type
Plastic "gallon" pots with drainage holes (most common type)
Spread a thin layer (1–2 cm) of clay pebbles and include a separation layer; for tall, large pots (depth >35 cm), the layer should be no more than 3 cm thick. For small pots, use less or skip it entirely.
Terracotta / coarse pottery pots (breathable)
Since the pot itself is highly breathable, a thin 1 cm layer of clay pebbles is sufficient; focus on covering the drainage hole properly rather than increasing the layer thickness.
Decorative ceramic pots without drainage holes (cachepots/outer pots) [High-risk warning]
❌ Never place clay pebbles directly at the bottom of a non-draining pot and then fill it with soil for planting. Water will accumulate in the gaps between the pebbles; as roots grow downward, they will soak in this stagnant water, leading to rapid root rot. ✅ Correct method: Place a 2–3 cm layer of clay pebbles at the bottom as a water reservoir, topped with a water-impermeable barrier; keep the plant in its original nursery pot and place it on top of the barrier. Ensure the plant's roots never touch the accumulated water in the pebble layer below—use a "pot-in-pot" (cachepot) arrangement.
Clay pebbles alone are not enough! Choosing the Right Potting Mix to Prevent Root Rot
A drainage layer of expanded clay pebbles is merely an aid; if the potting soil itself is heavy, sticky, or compacted, water will still accumulate and cause root rot.
A standard, breathable potting mix for indoor plants: 4 parts potting soil + 2 parts perlite + 2 parts coarse coconut husk + 2 parts leaf mold. For plants with fleshy root systems—such as succulents and orchids—increase the proportion of granular media to further enhance breathability.
Emergency Treatment for Plants with Root Rot
If your potted plant shows signs of wilting or yellowing leaves and the soil remains wet for a long time—confirming root rot—follow these steps to save it:
1. Remove the plant from the pot entirely. Use clean scissors to trim away all blackened, soft, or rotten roots, keeping only the clean, white, healthy ones.
2. Soak the roots in a diluted Carbendazim solution for 10–15 minutes to disinfect them, then place the plant in a cool, well-ventilated area to let the root wounds air-dry.
3. Replace the old soil with fresh, breathable potting mix. Repot the plant, ensuring a drainage layer of expanded clay pebbles is laid at the bottom of the pot as described above.
4. After repotting, place the plant in a well-ventilated spot with indirect light to recover; do not water heavily right away.
FAQ
Q1: Can expanded clay pebbles be mixed directly into the soil? A: Yes. Mixing a small amount into the soil improves overall breathability, but it cannot replace the drainage layer at the bottom of the pot. Do not use a large amount of pebbles to line the bottom of the pot.
Q2: Can pebbles or crushed stone replace horticultural expanded clay for the drainage layer? A: Not recommended. Pebbles are dense and non-absorbent; the gaps between them easily clog with soil, and their drainage and aeration performance is far inferior to lightweight horticultural expanded clay.
Q3: Do all plants require a drainage layer of expanded clay pebbles? A: No. For small pots with unobstructed drainage holes and a soil mix rich in granular components, you can skip the pebbles and simply use a mesh pad to prevent soil loss. However, for large, deep pots, a thin layer of expanded clay pebbles is recommended.
Summary
The key to preventing root rot with expanded clay pebbles lies not in using a "thick" layer, but in applying a thin layer combined with a separation barrier. Many plant enthusiasts run into trouble by simply piling up a thick layer of expanded clay pebbles at the bottom of the pot, inadvertently creating a zone where water accumulates. By properly laying the drainage layer, using breathable soil, and watering scientifically, you can significantly reduce the risk of root rot.
Looking for high-quality horticultural clay pebbles, breathable pots, and ready-to-use potting mixes? Visit the gardening section of our store; we offer clay pebbles in various sizes to suit any pot, making it easy to care for all kinds of indoor plants.
